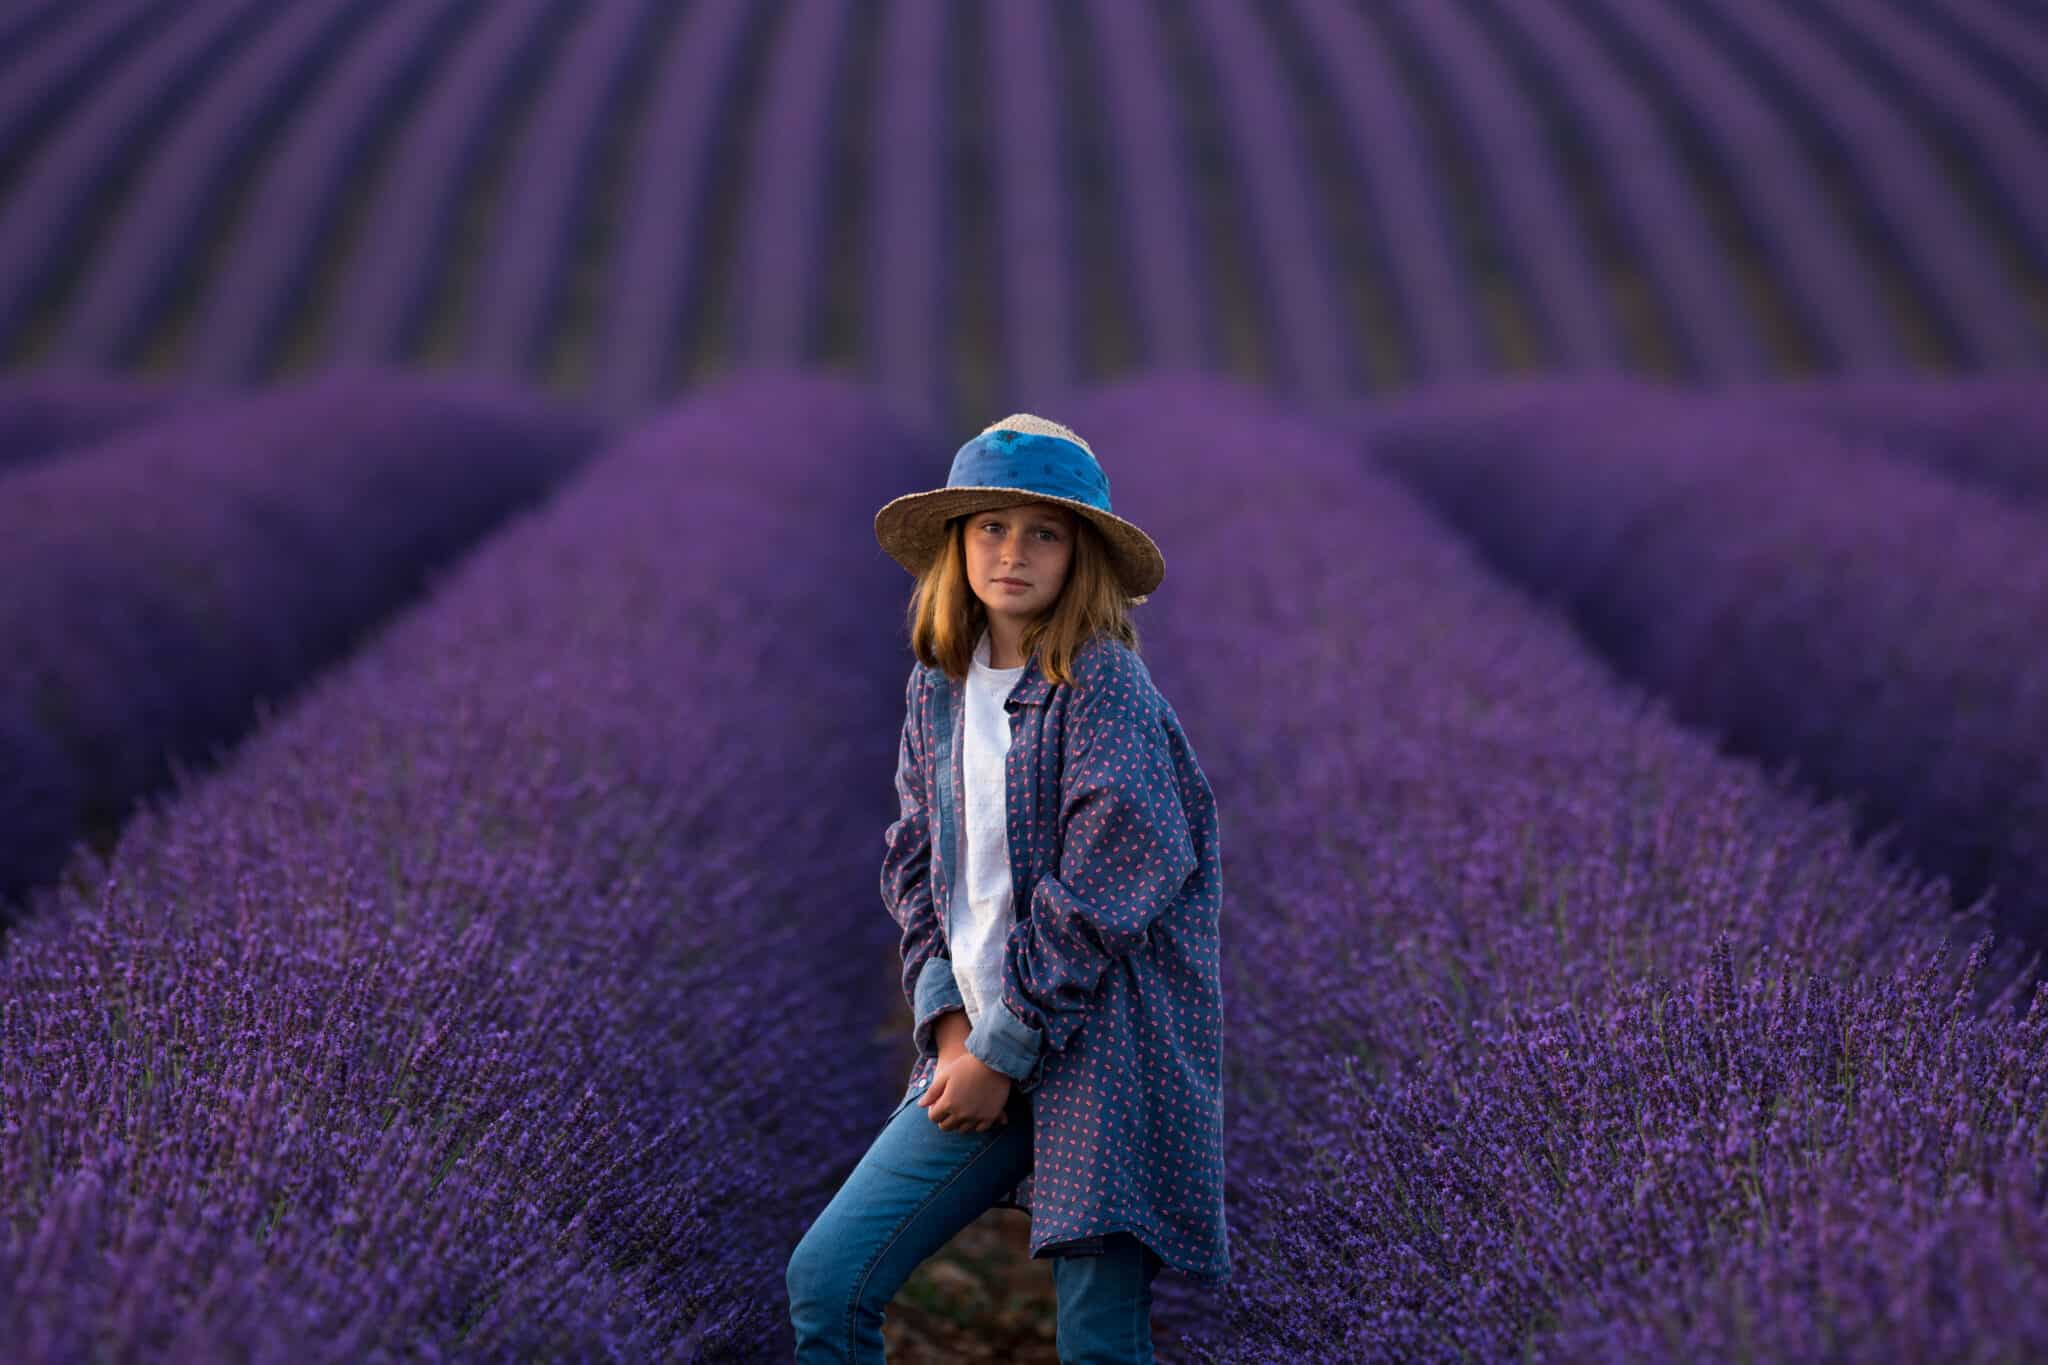
Flow posing photography is a wonderful way to capture natural and beautiful pictures, turning photoshoots from a fixed series of static poses into more of a fluid, free-flowing, dance-like experience.
It’s an excellent option for bringing shy or nervous subjects out of their shell, as well as letting them gently flow from pose to pose with small, incremental movements, rather than having to stand like statues.
However, for beginners or those who are used to the more traditional “fixed pose” style, flow pose photography can feel quite challenging.
There can be difficulties when it comes to providing your subject with clear directions, managing their movement speed, and capturing the most flattering images with a subject who is always in motion.
Fortunately, once you know a few insider tricks and expert techniques, the entire process becomes significantly easier.
That’s where this guide comes in.
Below, I’ll share some of the helpful flow posing techniques I’ve picked up over the years that should help both you and your subjects enjoy the most comfortable and productive flow posing sessions.
Flow Posing Photography Explained
Before I list all the ways you can master flow posing photography, it’s important to start with a clear definition of what this type of photography actually is.
In a nutshell, flow posing is when your subject is always transitioning from one pose to another, making small but deliberate movements as they move from position to position.
They might start off facing the camera, for example, with their arms by their sides, before gradually turning to a side-on position, lifting their arms to their hips, folding them across their chest, reaching a hand up to their hair, and so on.
The idea is that they’re always “flowing,” as the name implies.
Some of the benefits of this technique include:
- Speed and efficiency, as you can get a diverse array of pictures in a short amount of time
- Natural-looking results, since the subject will often feel more comfortable and free
- Diversity, as the subject moves through a broad range of expressions and positions
Overall, it’s a great way to work, but there are challenges, as touched on earlier.
Some photographers may feel like they’re not quite in control of the situation when their subject is moving so much, or might struggle to communicate clearly how they want their subject to flow.
The nine expert techniques listed below should take some of the challenge out of flow posing photography and help you master this rewarding method.
1. Micro Movements

Micro movements are the key to flow posing photography.
You don’t want your subject to make movements that are too broad or sharp; you want them to flow very gently and gradually from one pose to another, making only the smallest movements as they go.
If you’re working with a subject who hasn’t done this sort of thing before, it can take some time to ease them into the process.
Tips that I’ve found useful include:
- Remind your subject to keep breathing, as they may be used to holding their breath as they strike a pose.
- Use gentle words of encouragement to help them move and shift from state to state, rather than giving them fixed poses to aim for.
- You should move around as well, if possible, to find the most flattering angles and lighting conditions to capture your subject at their best.
Remember, micro movements aren’t just about the limbs, but expressions, too; your subject can keep the same basic pose sometimes, but shift from a smile to a more stoic expression, for example. Even a tiny expression change or gentle tilt of the head can produce a startlingly different image.
2. The Invisible Ball Hand

One of the quirky challenges that photographers sometimes run into when doing flow posing photography is when subjects don’t quite know what to do with their hands. They might form fists, for example, to express their tension or stiffen their fingers in unnatural positions.
Here’s a little trick I’ve learned to deal with that. It’s called the “Invisible Ball” hand, and the idea is pretty simple: you have to ask your subject to pretend they’re holding a ball in their hands, like a stress ball or maybe even a large bubble.
They then need to keep pretending that they’re holding onto that ball as the shot continues, always keeping it in the back of their minds. More often than not, this will help them relax their fingers, producing a gentle, natural curve to their hand shape.
Just remember to keep an eye on your subject’s hands as the shoot goes on, and ask them to imagine the ball getting larger or smaller and adjusting their hand shape accordingly. This will prevent the hands from looking too rigid or similar across the entire shoot.
3. Touch, Don’t Grab

Next, here’s a technique that’s quite similar to the “Invisible Ball,” in that it also focuses on the hands and aims to help subjects relax into more natural poses, rather than looking overly tense or rigid.
The idea here is to ask your subject to avoid the “death grip” when they’re holding onto things, like props, clothing, or even their own hair.
You don’t want them to grip any of these items too tightly, but instead to make light and gentle contact. Ask them to merely rest their fingers on the object they’re touching, or brush lightly across it, for example, rather than gripping, pinching, or squeezing.
Keep your subject moving, too.
Encourage them not to grab a piece of their hair, but to just brush it back behind their ear, or not to grip onto their dress, but to brush their hand across it. This all helps to produce more fluid and authentic poses with a calm, relaxed feel to them.
4. Create Air Space

A lot of the issues people have with flow posing photography involve their subjects not quite moving the way they want them to, or looking a little too stiff, even when given the freedom to move about.
You might find, for example, that while your subjects do turn and move about, they tend to keep their arms stuck to their sides or their legs close together.
That often leads to pictures that feel a little unnatural. To get around it, you want to create air space around the subject’s body – little pockets of air and light that break up their overall form and introduce more dynamism to the final photos.
To do this, gently remind your subject to move their arms and legs around, and don’t keep them too close. Ask them to lift an arm or put their hands on their hips to create air space beside their torso, for example, or to let one of their knees bend or shift slightly, so their legs aren’t locked together.
5. Directional Movement

One of the most common complaints I’ve heard from photographers who are just getting started with flow posing photography is that their subjects are too erratic in their movements or don’t know how to naturally flow from one pose to another.
The key is communication. You’re the director here, and it’s up to you to guide your subject in their movements; you don’t have to bark orders at them or give them a fixed list of poses to move into, but nudge them along in the ways you want.
That’s where directional movement comes in. This trick involves guiding your subject in one particular direction, helping to keep them focused and intentional in their movements.
They might start by facing you, for example, and you can ask them to slowly turn to the left, first with their head, then their hips, then lifting an arm, or while putting a hand to their face or hair, and so on. It’s about showing them the way but letting them fill in the gaps as they go, rather than being too direct with your commands.
6. Clothing Interaction

Another issue that can sometimes come up during flow posing sessions is when your subject almost seems to run out of ideas or ways to move their body.
A good way to work around this is to either introduce props or use the props that are already available: the subject’s clothing.
It doesn’t matter if they’re wearing a shirt, blouse, skirt, dress, suit, or something different, though more frilly and flowing fabrics tend to produce better effects. All you have to do is ask them to brush their hands across their clothes, lift bits of fabric and let them fall, roll up their sleeves, etc.
As you’ll discover, there are so many ways to play around with items of clothing, and when your subject is concentrated on this task, they’ll often have a more natural, harmonious expression, giving you the chance to capture some terrific laid-back shots of them in motion.
7. Walk and Cross

This technique is helpful when you’re working in a larger studio space or even an outdoor environment, as it involves your subject walking a few steps across the space before stopping, pivoting, and turning to look behind them.
Try to capture them in motion as they make their way across the area, adjusting your camera position in different ways to find the right angle and light. Then, at the end of their walk, have them slowly strike a pose, almost like a catwalk model, or turn their body side-on to the camera, before heading back.
This trick works really well for capturing a great range of shots in only a short span of time, so it’s perfect for those situations towards the end of a shoot where you might want to get one last batch of photos before calling it a day.
Just remember to have your subject take it slow – you don’t want them walking at full speed or hurrying across the scene, or else your images will most likely end up blurry. Ask them to take their time and be gentle in their movements.
8. The Hair Flip

Next, one of my favorite flow posing techniques when working with female subjects: the hair flip.
Great for adding an instant dose of energy and excitement to your images, the hair flip is simple; the subject just has to shake their head gently to toss their hair around, or lift it with their fingers and let it fall as they lower their arms back to their sides.
Your job is to then capture that brief but beautiful moment as the hair falls down or flies around from side to side.
That might seem like a challenge, but here’s the key: high shutter speed. As long as you use a high enough speed and capture a lot of pictures in a short span of time, at least some of them should be keepers.
9. Look and Return

To close, here’s another trick I always include in my flow posing session. I like to call it the “look and return,” because that’s exactly what your subject has to do.
For this trick, you want to find a pose or moment during the shoot where your subject looks particularly attractive and authentic, but isn’t looking at the camera.
They might be looking off to the side, for example, or up into the air.
Ask them to slow their movements down to give you time to capture the pose, and then have them maintain the pose while slowly turning their gaze in your direction. Get them to look into the lens for a beat, before essentially reversing their movement back to the original pose.
Again, with the aid of a high shutter speed, try to capture as many shots as you can during this period. It’s an effective way to hone in on those rare, near-perfect moments that usually come along only a couple of times per shoot.
Final Thoughts
I hope this guide on flow posing photography has proven useful for you. I know from experience that it’s not the easiest type of photography to master, especially if you’ve only ever followed the “fixed pose” format, but it’s well worth learning, as the results speak for themselves.
So, if you’re eager to shake up your photoshoots or try something fresh, give flow posing a try and keep these helpful tips and tricks in mind. With a bit of time, patience, and hard work, you may just grow to love this unique technique.